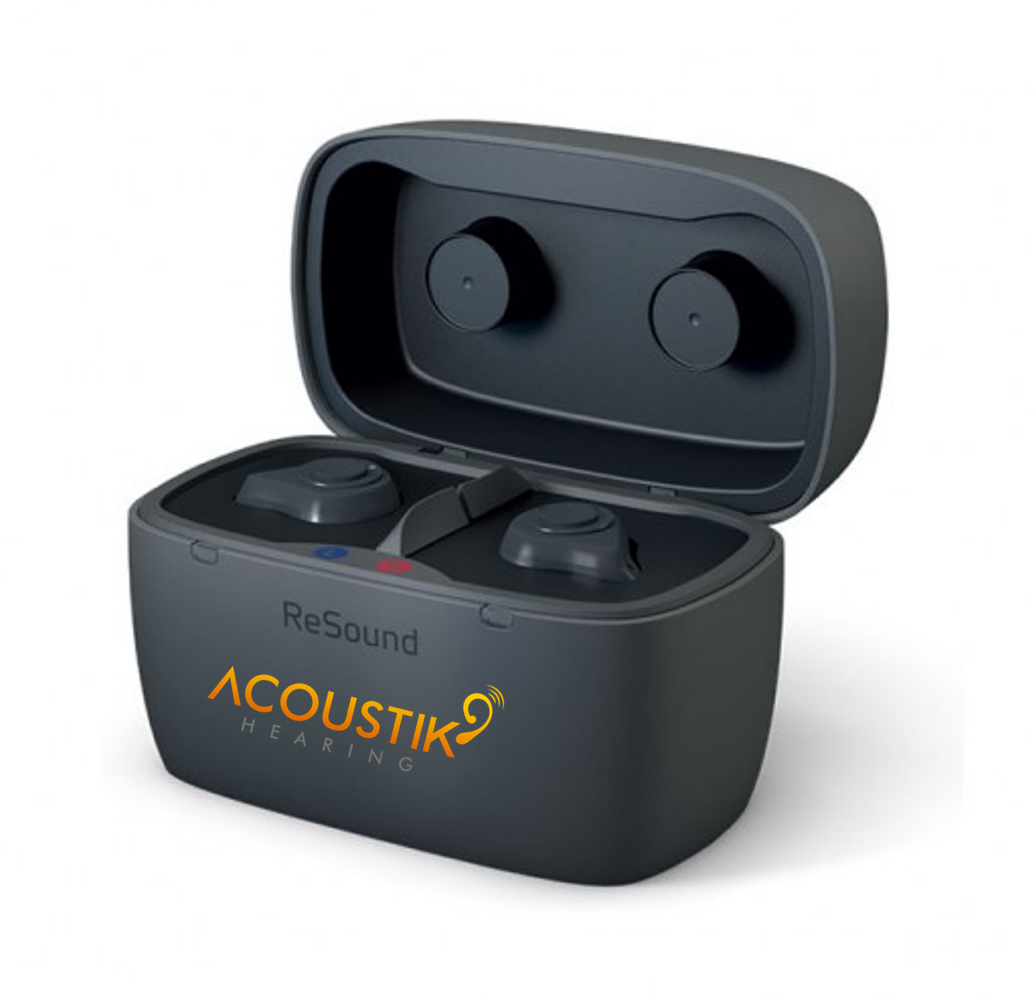
How to charge ReSound custom hearing aids
How to charge ReSound custom hearing aids
Click here to watch video:
Charging ReSound custom hearing aids involves a few straightforward steps, primarily centered around using the ReSound custom charger. Here's a breakdown of the process, based on the information gathered:
Key Steps:
- Prepare the Charger:
- Connect the ReSound custom charger to a power source using the provided USB cable and power supply plug.
- Place the Hearing Aids:
- Open the charger lid.
- Carefully place the left hearing aid into the charging bay marked "L" and the right hearing aid into the bay marked "R."
- Ensure the hearing aids are fully inserted into the charging bays.
- Initiate Charging:
- Close the charger lid.
- The built-in LED light on the charger will illuminate, indicating that charging has begun.
- Charging Indicators:
- The charger's LED lights will provide information about the charging status.
- It is often recommended to charge the hearing aids over night.
- Important Considerations:
- Always use the charger provided by ReSound.
- Ensure the hearing aids are dry before placing them in the charger.
- Keep the charger and hearing aids away from extreme temperatures and moisture.
Key Features of the ReSound Custom Charger:
- Designed specifically for ReSound custom hearing aids.
- Uses induction technology for efficient charging.
- Provides up to 24 hours of power on a full charge.
- Features clearly marked left and right bays.
- Includes an LED light to indicate charging status.
Follow us for more tips on
https://www.facebook.com/acoustikhearingandspeech
https://www.instagram.com/acoustikhearingandspeech
https://twitter.com/Acoustikhearing
https://in.linkedin.com/company/acoustikhearing
https://www.youtube.com/@AcoustikHearing
#Resound #hearingaid #maintenance